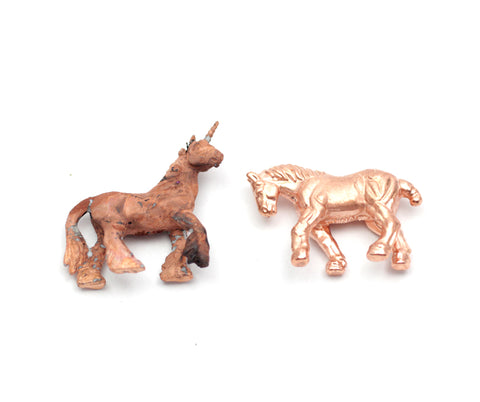
Electroforming or Plating with Gold, Silver or Other Metals
We get two questions more frequently than any others about electroforming and plating. This post is to answer both of these questions and to offer some new information about plating with various metals using the E3 Duo Controller.
This question more than any other: Can I electroform with silver or gold? The answer is yes you can. Since electroforming in silver and gold is rare for the home studio, it is more likely that when people ask about electroforming, they really mean to be inquiring about plating. Both processes will be explained below:
Electroforming is traditionally done with copper and then plated later with other metals. For practical reasons it would be massively expensive to electroform in pure gold or silver but it is possible. Also, gold and silver are relatively soft so it would take a lot of precious metal to form a strong layer over an object. Typically cyanide based gold and silver solutions are used for electroforming because the cyanide keeps the metal suspended in solution for long periods of plating. There are YouTube videos (mostly by commercial labs) and books out there on the subject if you Google electroforming with gold or silver. To do this you would simply substitute gold or silver for the copper anode and use the appropriate plating solutions.
Gold and silver is most commonly achieved by plating which is covered in my 2nd topic below.
Will the E3 Duo Eform Controller plate other metals such as gold and silver?
The answer is yes. Simply use the controller in place of a rectifier and set it to a low current level while plating. Most plating solutions only take a few minutes. Each metal calls for different steps, solutions, anodes, equipment and safety concerns. Plating takes quite a bit of training and knowledge so be sure to research the steps of the particular metal and solution you want to use before committing to plating.
To give a brief overview of plating, plating is the process of applying a thin layer of metal over metal. To prepare a piece for plating the piece must be cleaned with an electro-cleaning solution and then dipped in acid prior to plating. The piece must also be rinsed between solutions to avoid contamination. The piece then goes through a series of steps involving heating and agitating the solution (if called for) as the metals are plated. If I were to get serious about plating different metals I would invest in a plating station unit like this one below because it provides heat and agitation to certain beakers where needed:
http://www.riogrande.com/Product/Midas-Six-Station-Plating-System-1-Liter/331961?Pos=6
Certain metals cannot be plated over one another without a barrier layer of metal between. For example a layer of nickel should be plated between copper and gold to keep the gold from migrating with the silver. RioGrande.com has great charts on their website which can be found with each plating solution to show you the steps in order for plating. Here is an example of the information offered with the 24K gold cyanide solution:
Along with knowledge of the steps and becoming familiar with the characteristics of each plating solution, the most important consideration is SAFETY. When you get into plating various metals you can be dealing with very dangerous chemicals. 24K gold is available in non-cyanide and Cyanide formulas. The cyanide is what makes the gold so rich and beautiful. But it can be fatal if misused. You need to wear a NIOSH mask, proper gloves, apron, goggles, and use a fume hood for ventilation just to name a few of the safety precautions. If you go to Rio Grande’s website and study each plating solution it will make sense what is involved for plating. This is not a casual craft.
With all of this said, our controller is meant for the small jewelry-making studio for electroforming and plating on a small scale. I electroform with copper frequently and then I plate those pieces with various metals occasionally. This piece was a leaf that I electroformed with copper and then it was plated with nickel followed with 14K gold.


